When the organization is set up and is enabled as the course purchaser, additional options are available in the portal.
Organizations can create classes and assign teachers to classes.
Organizations can assign students to classes. When the student is assigned to the class, they are also assigned to the teacher.
Organizations can assign video courses to connected students.
Create Classes and Assign to Students
Click on Classes in the side menu.

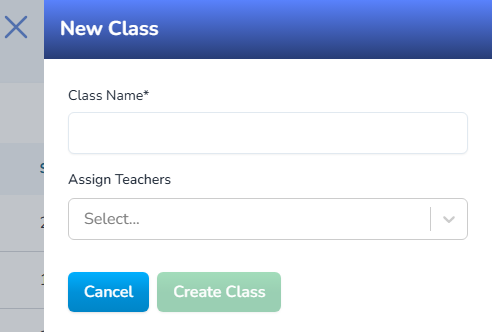
To add classes, click on Add a Class and input the class name and teacher.
Assign and Manage Video Courses
In the courses area, the admin will be able to assign purchased courses to students that are connected with the organization.
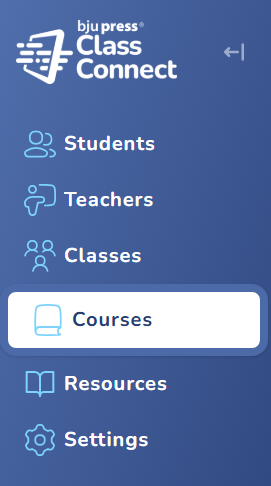
Go to Courses in the side menu.
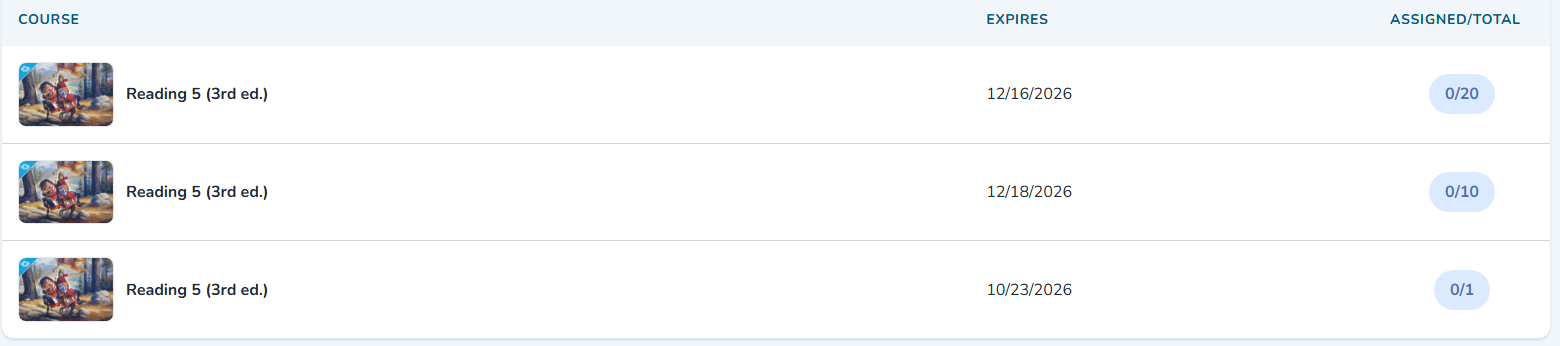
Hover over the desired course and click on Manage. Admins can search for the course and navigate to multiple purchases. If multiple courses are purchased, you will see how many are assigned out of the total number available.

If the same course is purchased on different days throughout the year, they will have different expiration dates and will be listed separately.
After clicking Manage Course, the admin can search and filter for specific students.

Below the search options, the admin can select the course and assign it to multiple students. You can use the select all button to select all students in the list.
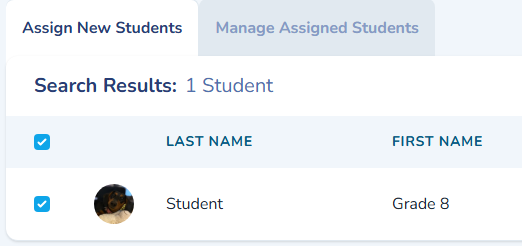
Once students are selected, click Assign Students at the bottom of the screen.

A new menu will appear to schedule the course.
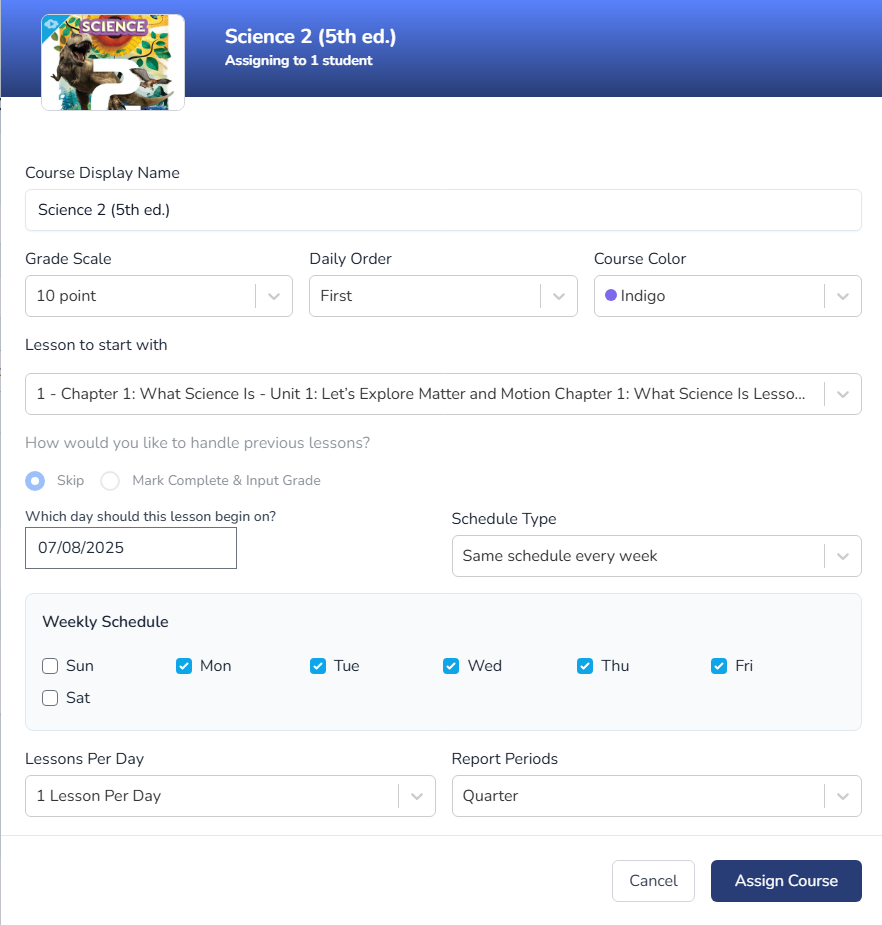
Choose a start date and how the course needs to be scheduled. There are options to choose what lesson you need to start on and what the report periods need to be.
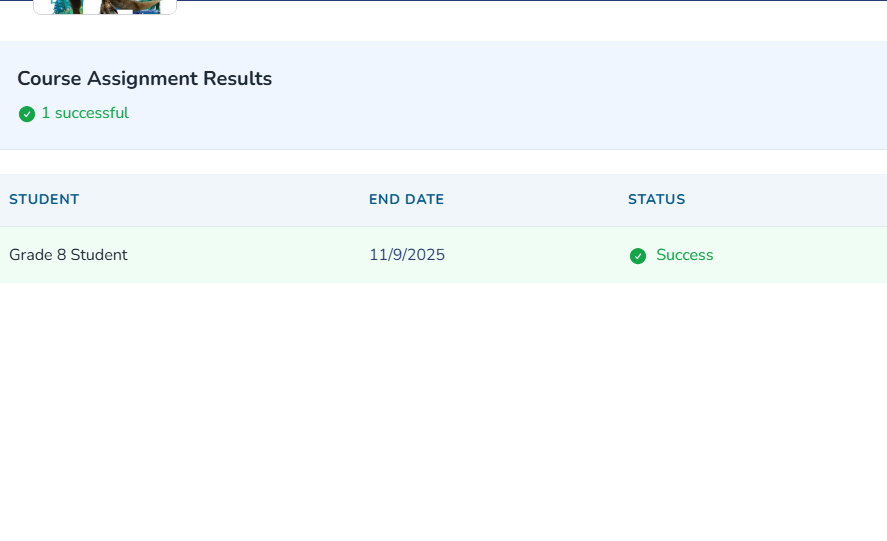
Once all the settings are correct, click Assign Course. After it is done assigning, the results will appear and report whether it is successful.
Unsuccessful results may be due to a course getting scheduled for over 2 years. Try modifying the scheduling to make sure it will be completed within 2 years.
If you need to unassign the course, you can click on Manage Assigned Students.
Select the students and click on the Unassign Students Option
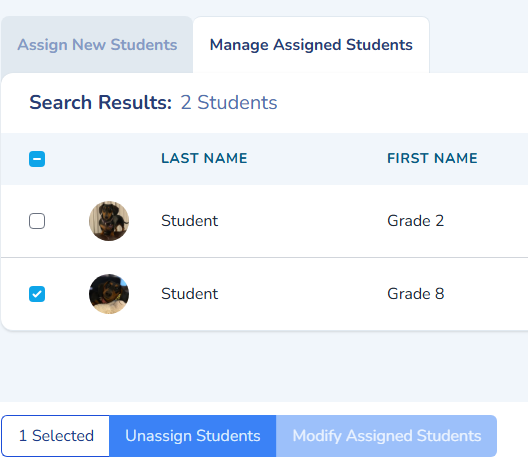
This will remove the course from the student and delete any of the student’s progress in that course. The organization will then regain that license to assign to another student as long as the course has not expired.
If the schedule for a class needs to be modified, the admin can select the class from the search area, then select the students to modify what has been assigned.
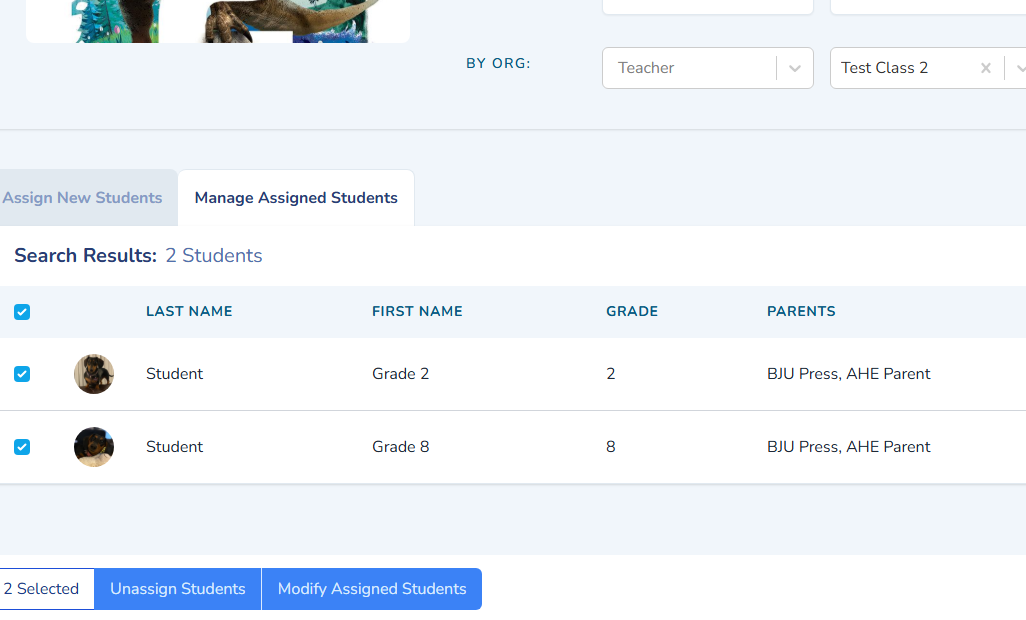
The start date, the days of the week the class is scheduled, or report periods can all be changed later.