When you click View Lesson or Resume, you are taken to the current or next lesson. The Overview tab displays the individual assignments for the lesson displayed.
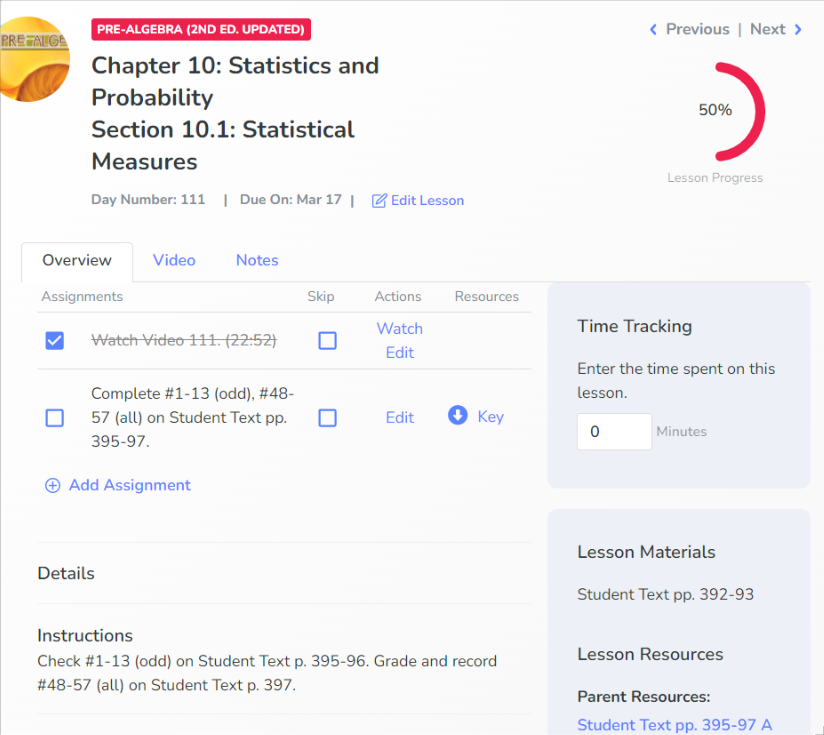
Edit Lesson allows you to make changes to the title, materials, and details.
Select Previous or Next to view nearby lessons.
Choose Key or items under Lesson Resources to view answer keys.
Instructions let you know which items need to be graded or checked.
If Manual Time Tracking is on, you or your child can enter time spent on the lesson from the Lesson View.
See Edit an Assignment.
Online Tests, Quizzes, or Activities
Video courses for 5th grade students and above may have online assessments or activities for students to take in their own login. If you wish for your student to take the assignment on paper, a PDF of the assignment and its answer key can be found either in the Lesson Resources on the Lesson page or in the Course Resources tab on the course home page.
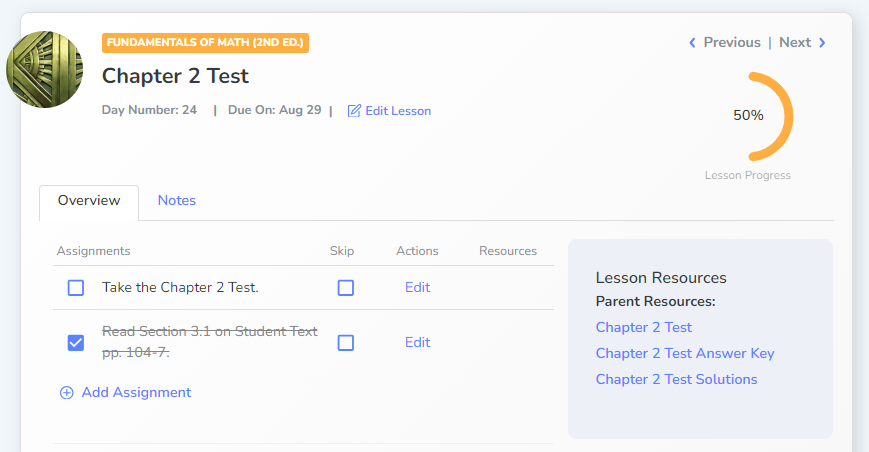
Add Assignment
The Assignment box lets the student know what to do or complete.
When you click Add Assignment, a form appears. Fill out the fields and click Save to add an assignment. Once a new assignment has been added, it cannot be deleted. New assignments may be skipped instead.
Assignment Order lets you pick the numerical order of the new assignment.
Assignment Gradebook Title is for parent grading instructions.
Expected Time To Complete can be manually input or edited, if Time Tracking is automatic.
Assignment Type allows you to choose what category the assignment grade goes into. If the assignment is not for a grade, select Task.
Lesson will default to the current lesson.
Edit an Assignment
Next to an assignment is the option to Edit.

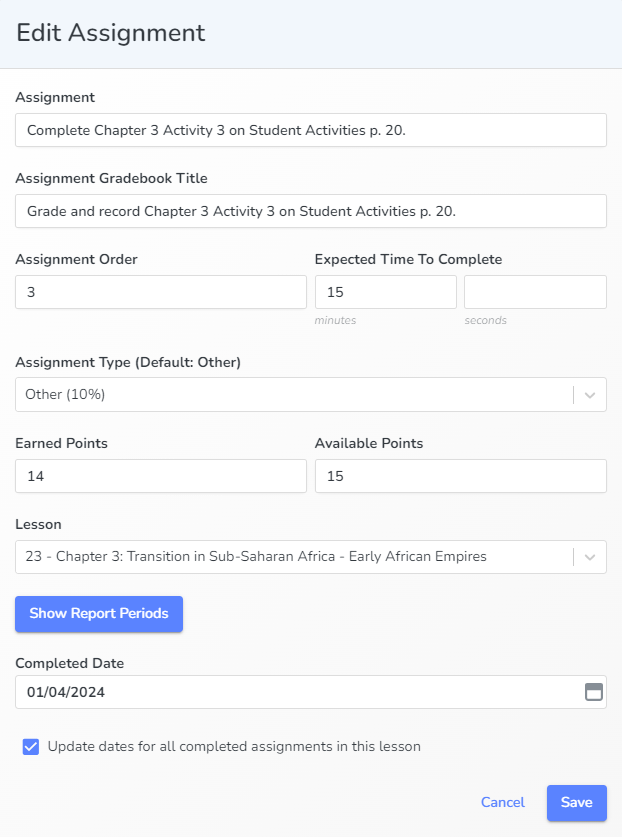
Expected time to complete will have the automatic logged time for assignments completed if you are not logging time manually.
Selecting Edit takes you to the Edit Assignment form. Here you can adjust the assignment name, gradebook title, order, type, expected time needed to complete lesson, and number of points that can be earned for the assignment.
Earned Points and Available Points will appear after you choose a gradable assignment type.
Change the lesson this assignment is scheduled on by selecting a different lesson in the drop-down.
Change the date you or your student marked the Assignment complete.
Video
Click Watch Video next to any video assignment to be taken to the Video page.
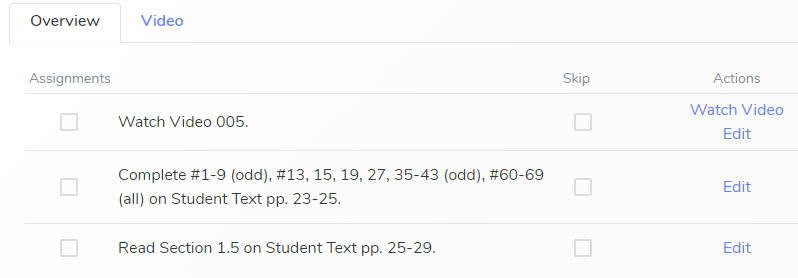
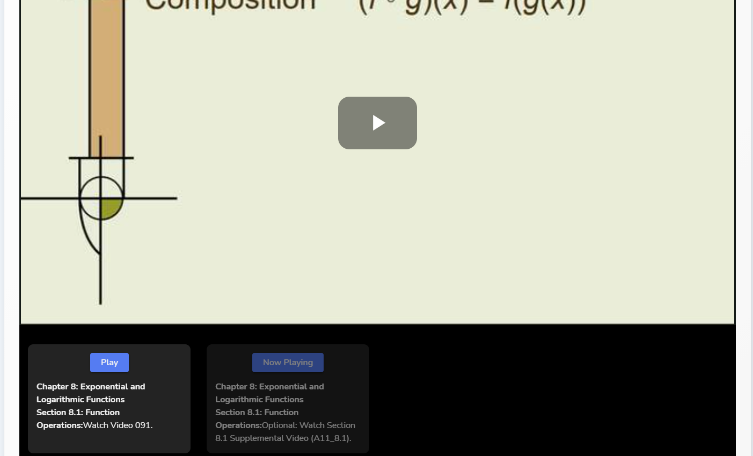
You can also select the Video tab to go directly to the video assigned for the day.
When multiple videos are assigned for a lesson, you can go directly to the next video by selecting it from the list.
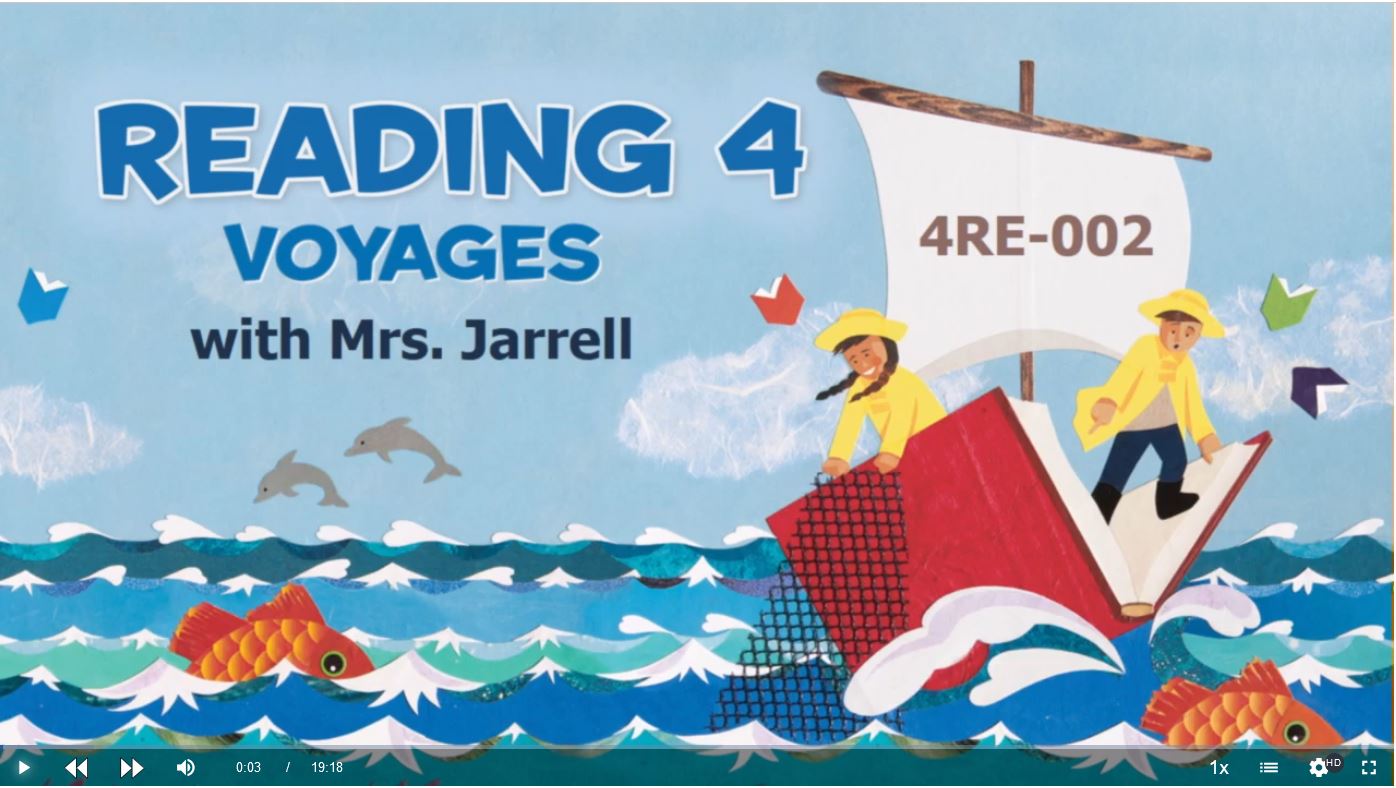
Once you click the play button, the video control menu will appear across the bottom.
Add Lesson
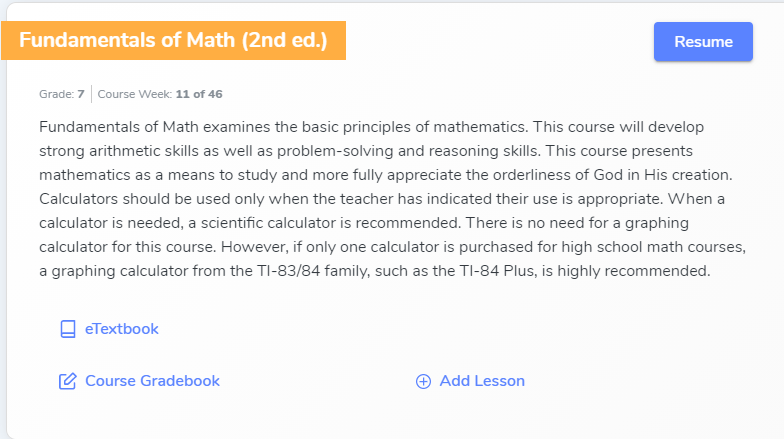
The Add Lesson button will take you to a form to create a new lesson. When the form is completed, click Save to add it to your student’s course assignments for the date specified.
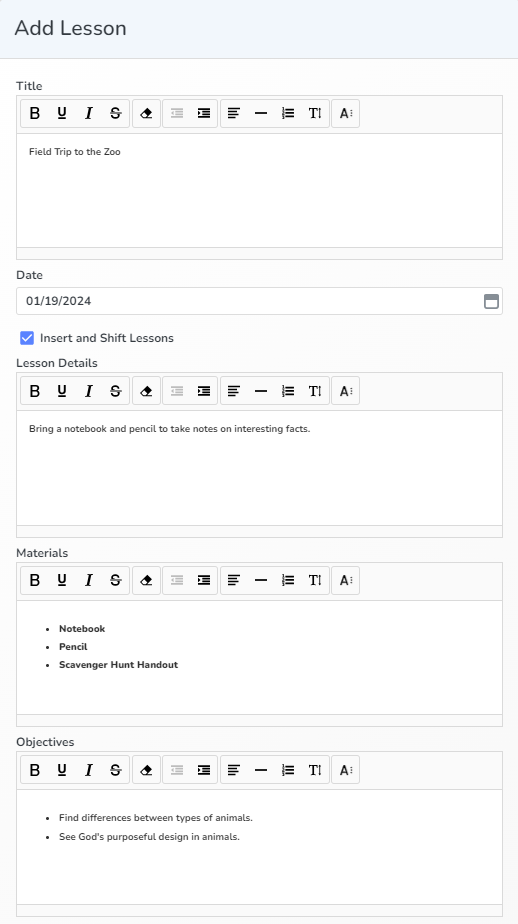
Title provides the name of the lesson.
Date lets you select the date the lesson should be completed. You can choose to reschedule the lessons to move all lessons forward starting on the date you chose.
Lesson Details give further explanation of assignments and provide additional resources for the lesson. Add any notes for your student in this field.
Materials record the items needed to complete the assignment.
Objectives communicate what learning outcomes are expected.
Parent Details record notes about the assignment, including involvement or preparation needed to help your student through the assignment.
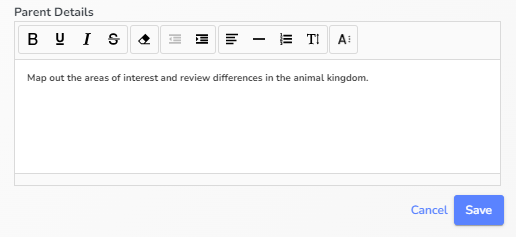
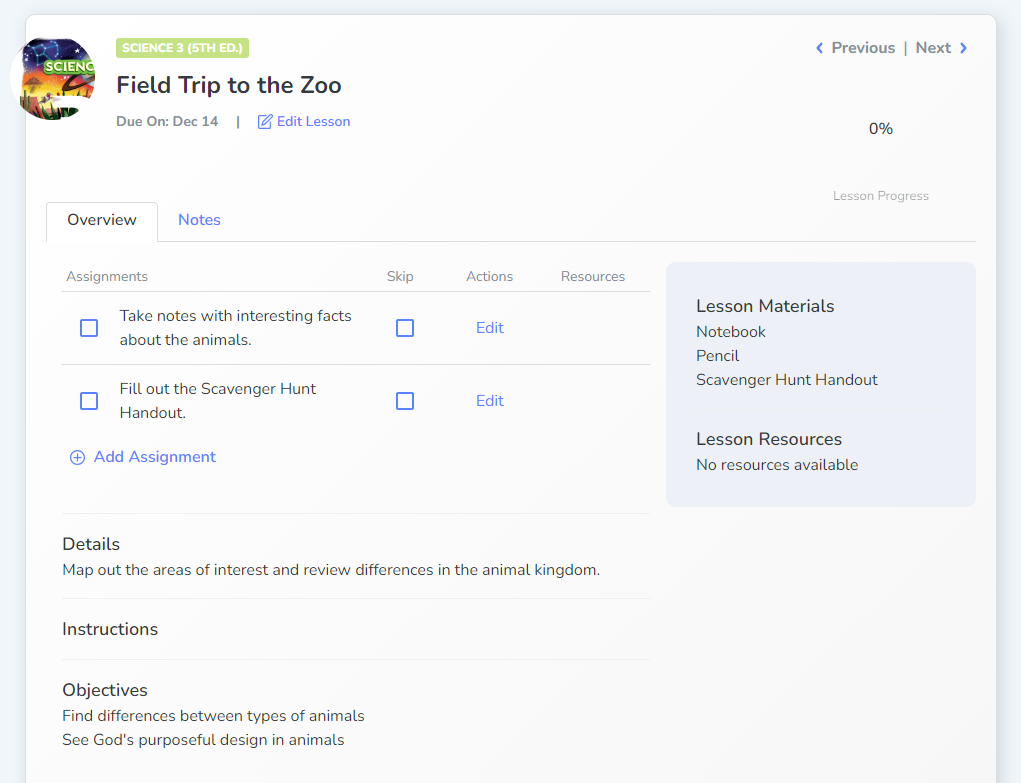
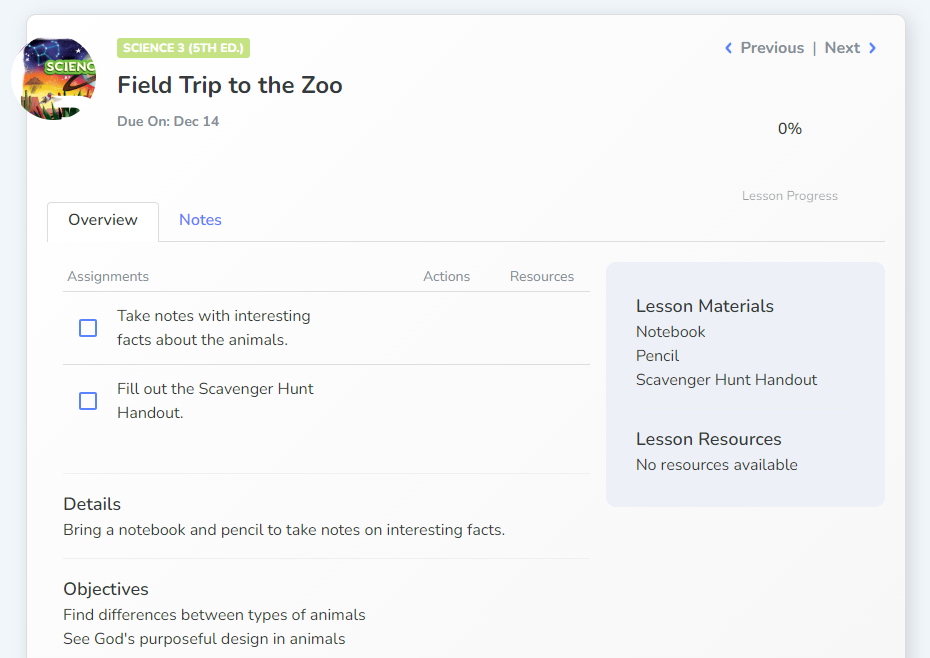
Here is an example of where each category shows up on the lesson page in the Parent and the Student account.
Parent Account
Student Account
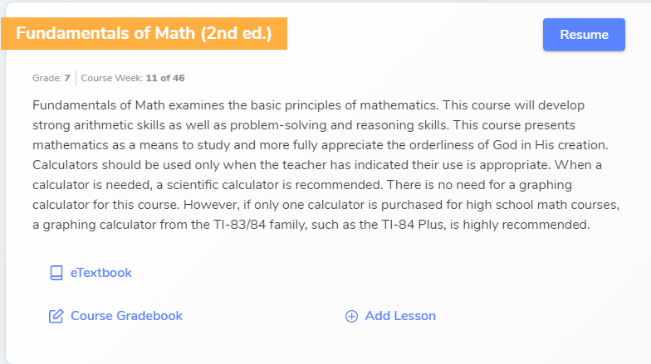
After you create a lesson, add assignments to be completed within the lesson. Students will not see the lesson until assignments have been added. The assignments show up on printed lesson plans. Once added, a lesson may not be deleted, but it can be skipped. See Add Assignment.
Course Planner
The Course Planner provides more advanced rescheduling options. Here you can adjust the course lessons by rearranging their assigned order, skipping lessons, or creating new lessons.
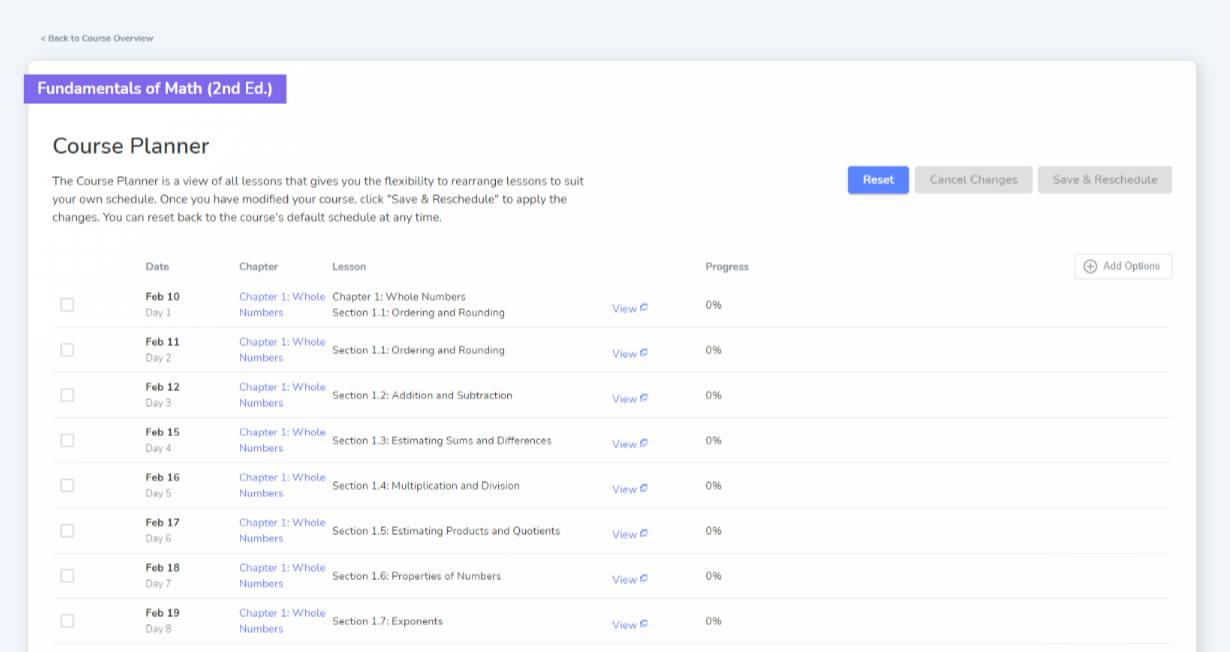
Select the Course Planner button to see a list of the lessons within the course.
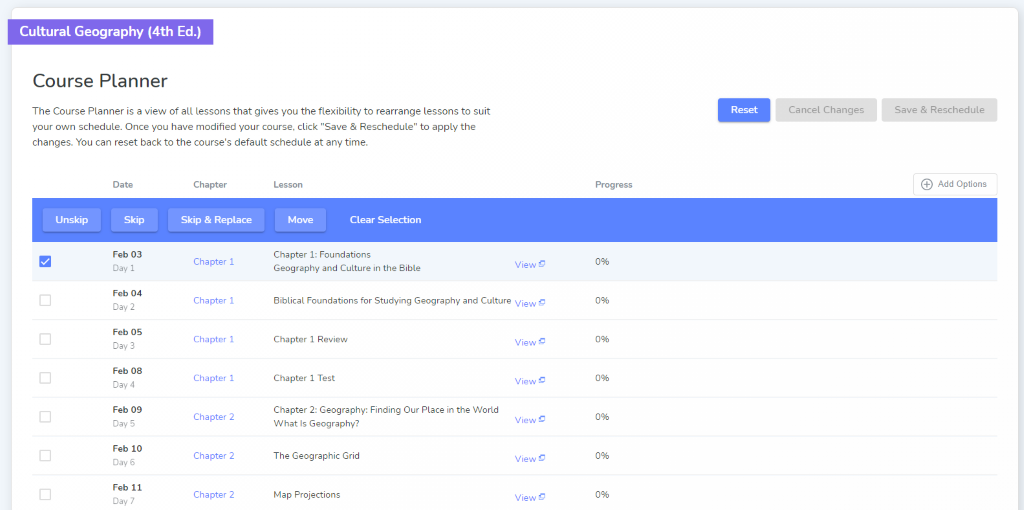
Selecting the checkbox next to a lesson will bring up an action menu. Here you can choose to skip a lesson. Select Skip & Replace if you would like to skip the lesson and replace it with the next available lesson. This reschedules the remaining lessons by pulling future lessons forward and will change your estimated end date.
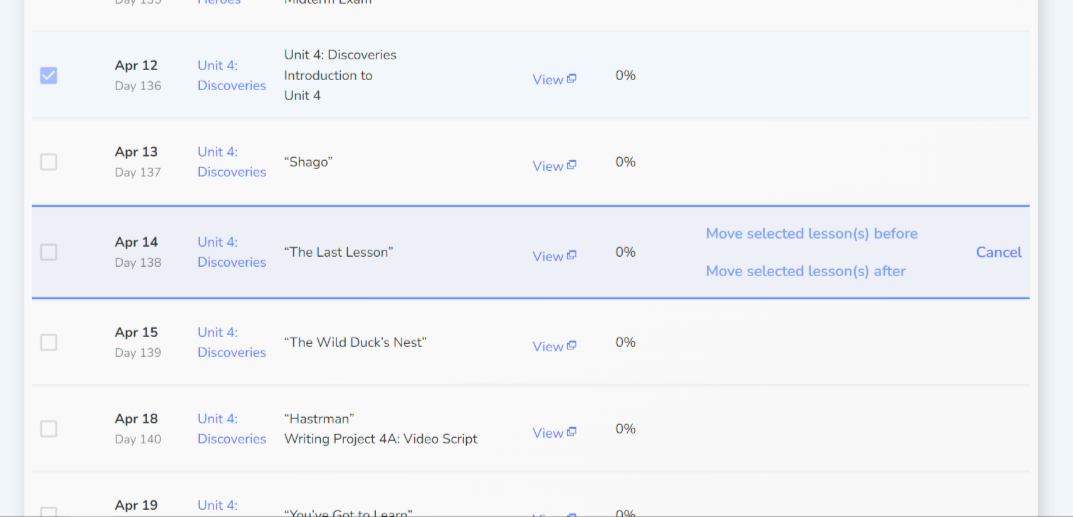 The Move option allows you to move the selected lessons before or after the lesson of your choice. The Cancel button is available if you would like to cancel this action before assigning a new location for the lessons.
You can perform an action on an entire chapter by selecting the chapter number from the chapter column. This will automatically select all the lessons within the chapter.
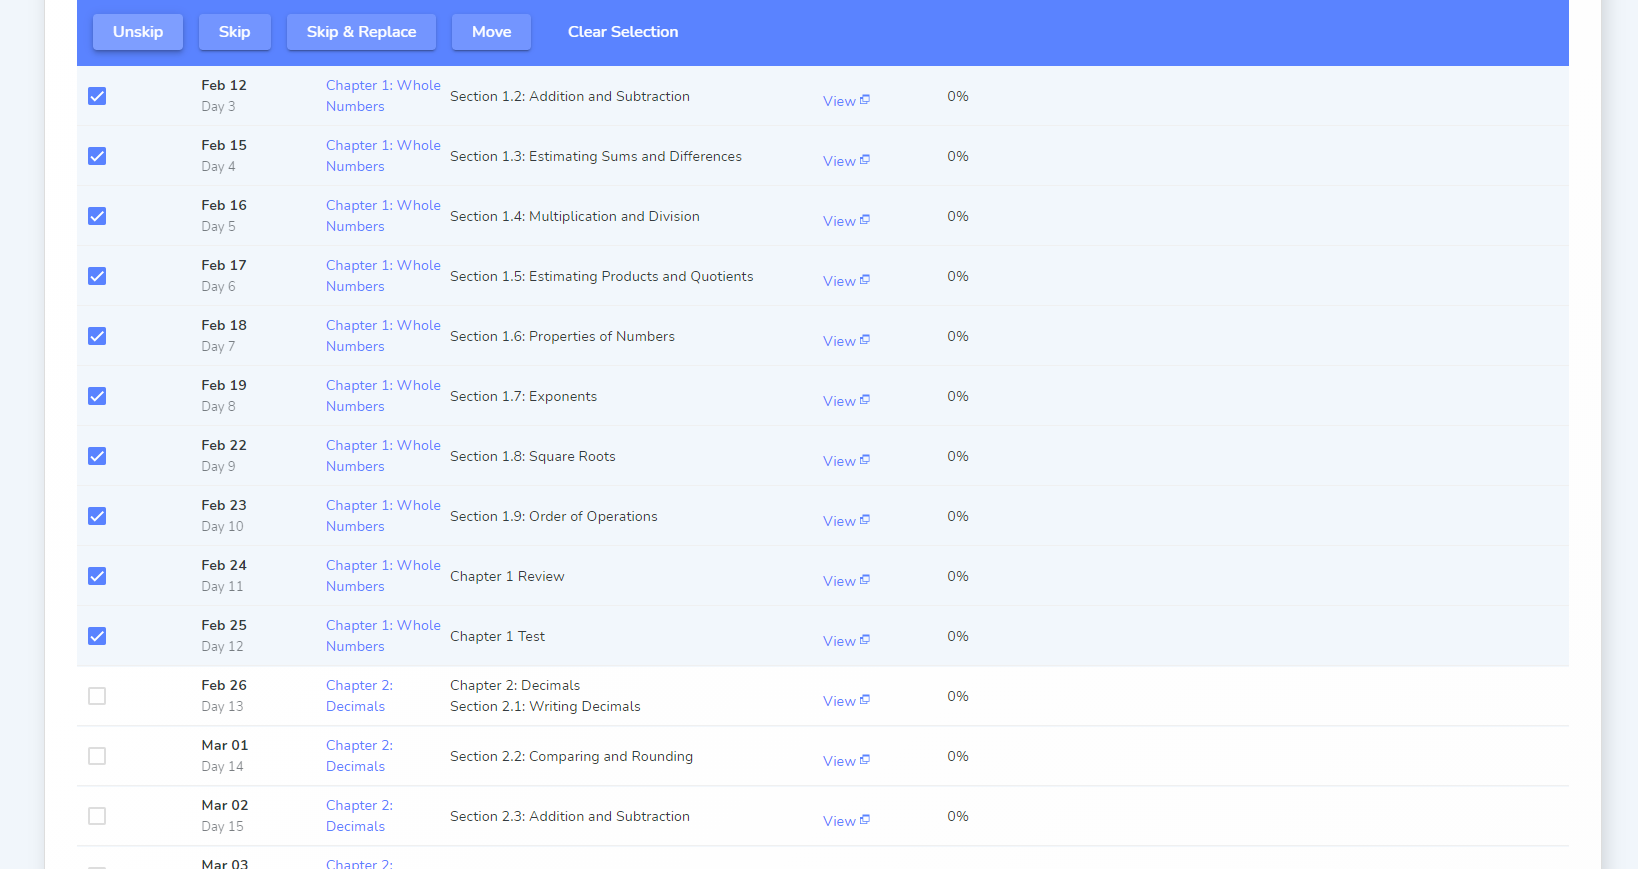
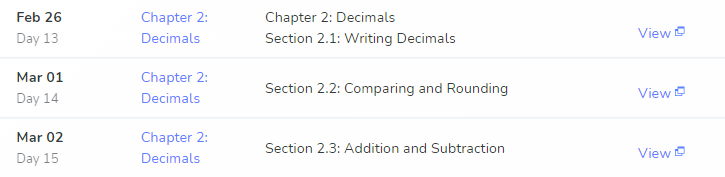
The View button will bring up the lesson page in a new tab and allows you to see the details of the lesson and the assignments within that lesson.
After you have completed all your changes, select Save & Reschedule. If you have made any changes you do not want to keep, select Cancel Changes. To reset the entire list to the default setting based on your current course settings and erase all changes, select Reset and then Save & Reschedule.
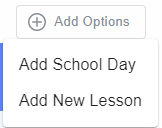
The Add Options button gives you the options to create a new school day or create a new lesson.
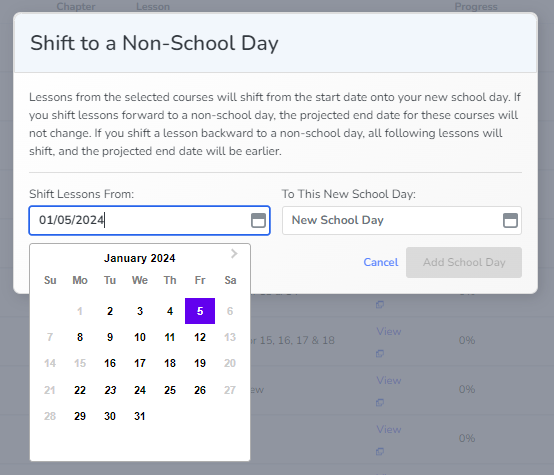
Selecting Add School Day brings up a box where you can select the initial school day and switch it to a and the Estimated Course Schedule. Please note that the school day shifts from the original date to the new date. The original date will no longer be available as a school day for the course(s) you shifted.
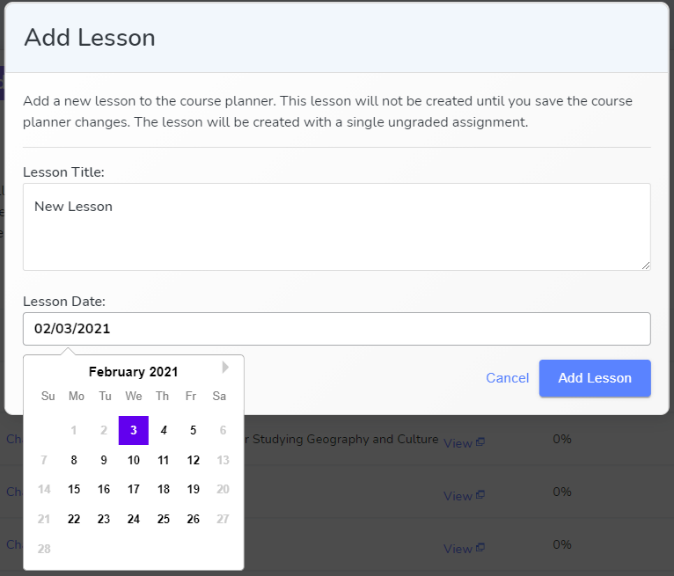
Selecting Add New Lesson brings up a box where you can create a title and select the date the lesson will be assigned. To finish creating this lesson, go to the page to finish adding an assignment.
Course Settings
In the upper right-hand corner on the course page is the Course Settings button. When selected, the Edit Course form will appear. You can change name of the course, the start date, grade scale, daily order, course color, start date of your course, schedule type, days of the week that the course lessons should be assigned, number of lessons per day, and the Estimated Course Schedule. Click Save Course to save the changes.
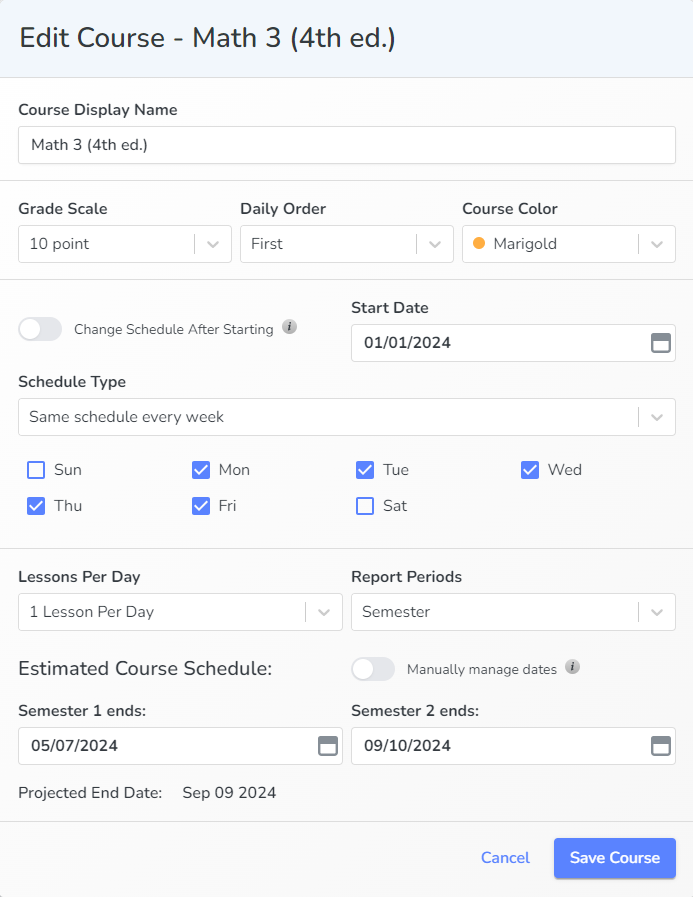
Note: changing your start date, schedule type, days of the week, or lessons per day after a course has been started may conflict with existing schedule edits you have made.
If the parent needs to adjust the schedule when the student has already started the course and completed lessons, the parent can make those adjustments starting from the first incomplete lesson.
Example: The family has co-op meetings on Fridays, starting in January, so the student can only do Math on Mondays through Thursdays instead of five days a week. Go to the course and click on “Course Settings.” Click the toggle for Change Schedule After Starting. The start date blank will update to be the current date of the first incomplete lesson. You can also pick a specific date if you want the first incomplete lesson to be on a different date. Then make your changes (in this case, removing Friday as a possible school day) and click “Save Course.”
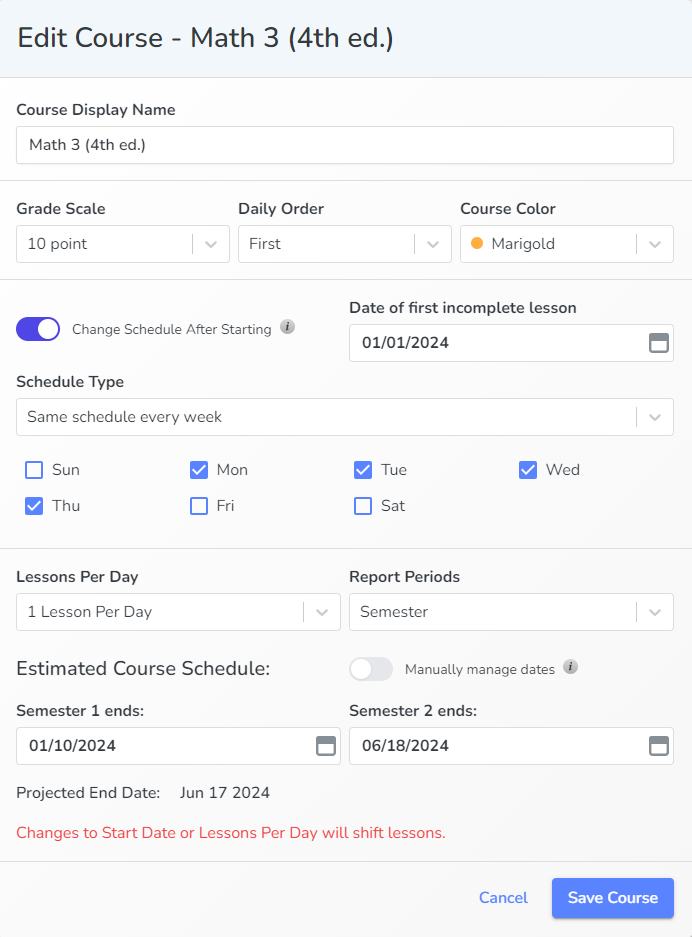
This will shift on the Calendar all lessons for that course, but the Homeschool Hub will keep track of when the original date assignments were completed regardless of where the completed lessons were scheduled.